> ## Documentation Index
> Fetch the complete documentation index at: https://docs.betterstacks.com/llms.txt
> Use this file to discover all available pages before exploring further.
# Workspaces
> The first step to using Linear is to create a workspace for your team.
## Overview
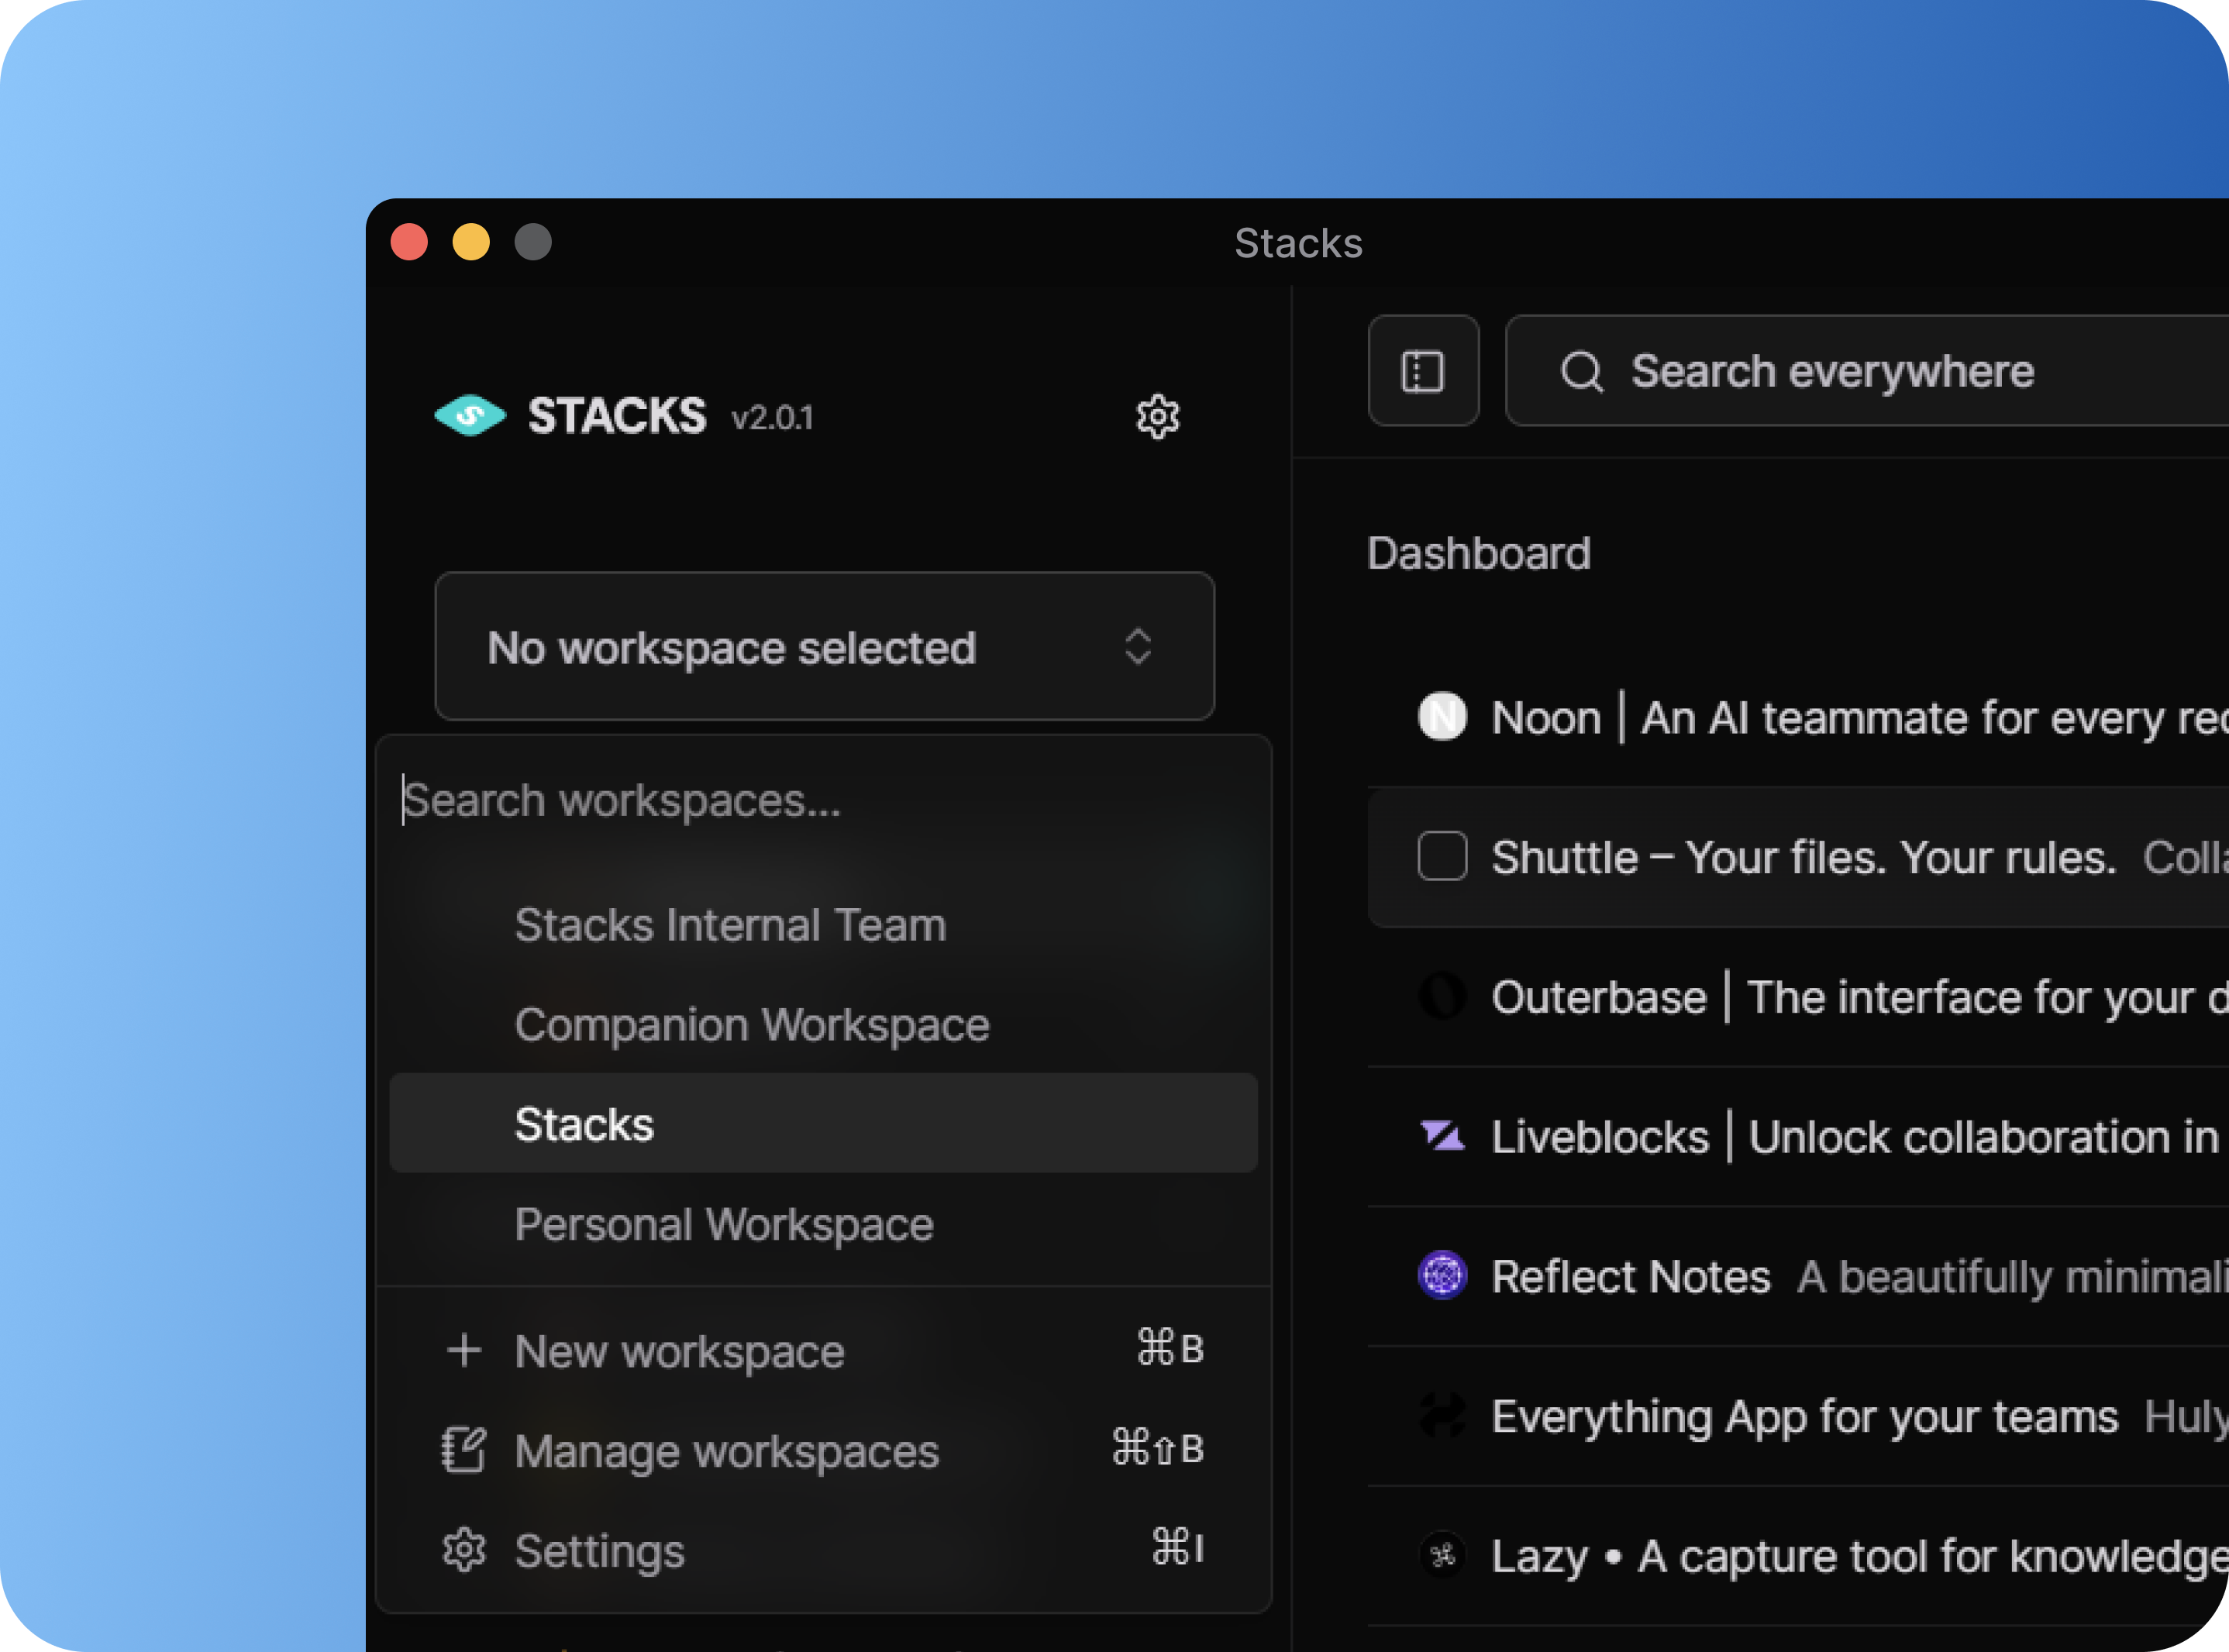
A Stacks workspace is like a container for all saves, collections and notes belonging to an individual or a team. As a
user, you can have accounts on one or many workspaces and can switch between these workspaces using the dropdown menu in
the top left-hand corner of the application. You also choose to have no workspace selected, which means you will see all
contents across all workspaces you have access to.
In [Personal](https://betterstacks.com/pricing) plan, you get one personal workspace and one companion
workspace
## Key takeaways
* A workspace is a container for all saves, collections, and notes accessible to a user or a team.
* A collection or a link can be part of multiple workspaces.
* You can create or join multiple workspaces.
* You can switch between workspaces using the workspace switcher.
* You can invite users to join your workspace, remove users from your workspace, and change the role of users in your
workspace.
* You can delete your workspace if you no longer need it.
## Creating a workspace
Find the `Workspace Switcher` in the top left-hand corner of the application. That button is your home for anything
related to workspaces. Click on it to open the workspace switcher and then click on the `Create Workspace` button.
A window will pop up asking you to enter the name of your workspace. Enter the name and click on the `Create` button.
When you create a workspace, you become the owner of that workspace. You can invite other users to join your workspace.
In fact, you can invite users to join your workspace right when you create it. Just enter the email addresses of the
users you want to invite and they will receive an email with an invitation link.
You can also create a workspace simply by pressing `⌘` `B` from anywhere in the app.
## Switching between workspaces
To switch between workspaces, click on the `Workspace Switcher` in the top left-hand corner of the application or press
`W`. You will see a list of all workspaces you have access to. Click on the workspace you want to switch to and that
workspace will open in the app.
When you are in a particular workspace, you will only see saves, collections, and pages that belong to that workspace.
You can also clear the workspace selection by clicking on the `Clear` button in the workspace switcher. This will show
you all contents across all workspaces you have access to.
To switch to a workspace using a keyboard shortcut, press `⌘` `K` and then type search for `Switch workspace` and press
`Enter`. You will see a list of all workspaces you have access to. Use the arrow keys to navigate and press `Enter` to
select a workspace.
To clear the selected workspace, simply press `⌘` `Y` and the workspace selection will be cleared.
## Managing workspaces
As a workspace owner, you have the ability to manage your workspace. You can invite users to join your workspace, remove
users from your workspace, and change the role of users in your workspace. You can also delete your workspace if you no
longer need it.
To manage your workspace, click on the `Workspace Switcher` in the top left-hand corner of the application or press `W`
and then click on the `Manage Workspace` button. A window will pop up showing you all the workspaces you have access to.
Click on the three dots menu next to the workspace you want to manage and then click on the `Edit workspace` button. A
window will pop up showing you the name of the workspace along with all the users in your workspace and their roles.
From this window, you can rename your workspace, invite users, remove users, and change the role of users.
You can invite users by entering their email addresses, remove users by clicking on the `X` button next to their name,
and change the role of users by clicking on the `Role` dropdown next to their name.
To quickly open the workspace management window, press `⌘` `⇧` `B` from anywhere in the app.
## Deleting a workspace
If you no longer need a workspace, you can delete it. To delete a workspace, click on the `Workspace Switcher` in the
top left-hand corner of the application or press `W` and then click on the `Manage Workspace` button. A window will pop
up showing you all the workspaces you have access to. Click on the three dots menu next to the workspace you want to
delete and then click on the `Delete workspace` button. A confirmation window will pop up asking you to confirm the
deletion. Click on the `Continue` button to confirm the deletion.